
What You'll Need
Equipment:
- Grinder or preground coffee (not ideal)
- Aeropress brewer
- Aeropress filter paper
- Gooseneck kettle
- Scale
- AeroPress paddle or Spoon
Important Factors
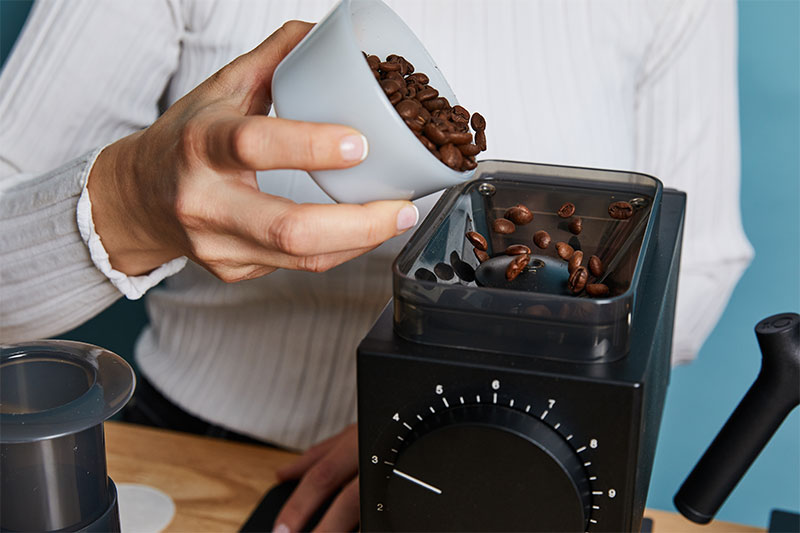
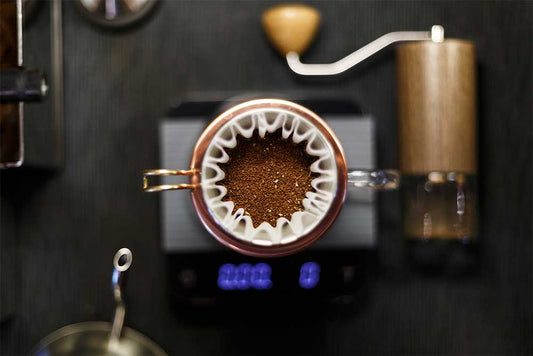
Step 1: Measure and Grind Coffee
Coffee amount: 16 grams
Brew ratio: 1:14 (1 gram of coffee for every 14 grams of water)
Your grind size and quality are crucial factors that will impact the length of your brew and the taste. For Aeropress brewing, medium-fine grind size is ideal for helping hit the target brew length of 1:00 – 2:00 minutes (depending on the recipe)
Adjust your grind size finer if your cup is too sour and slighly more coarse if you notice any bitterness in the cup. Also, refer to the water temperature guidelines by roast type as it will greatly improve the quality of your cup.
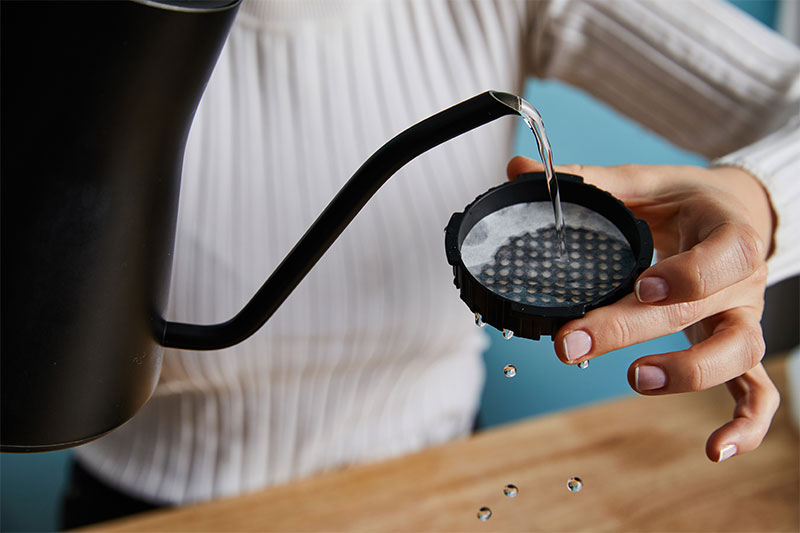
Step 2: Rinse Your Filter
Place your AeroPress filter paper in the basket with the smooth side facing toward the coffee and the rough side facing downward. Placing the filter this way will help with overall flow rate.
Next rinse the paper filter with hot water; otherwise, it will give off a papery taste. You can also quickly rinse the body of the AeroPress to help heat up the entire device.
You can now screw on the filter holder to the bottom of the AeroPress.
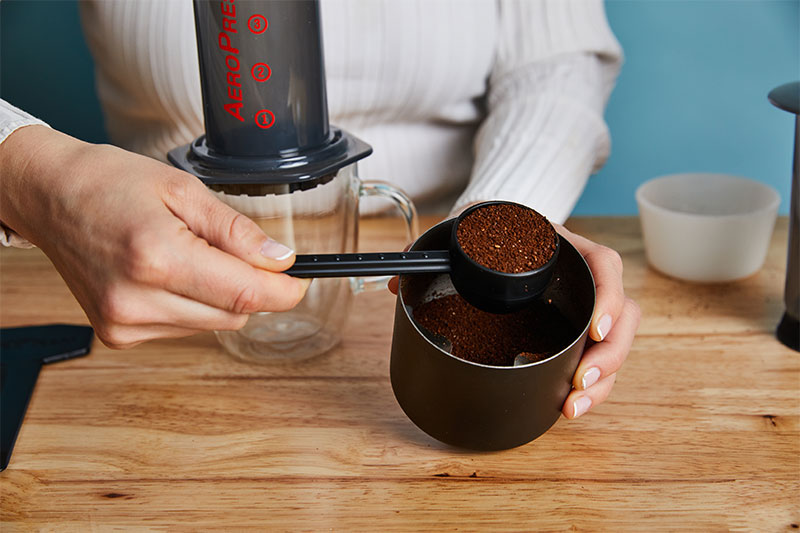
Step 3: Add Coffee and Heat Up Your Water
Coffee Amount: 16 grams
Water Amount: 230 grams
Add your coffee into the AeroPress and begin heating up your water.
Make sure you are using high-quality spring water heated to the ideal brewing temperature for the roast type (hotter for light roasts, cooler for darker roasts).
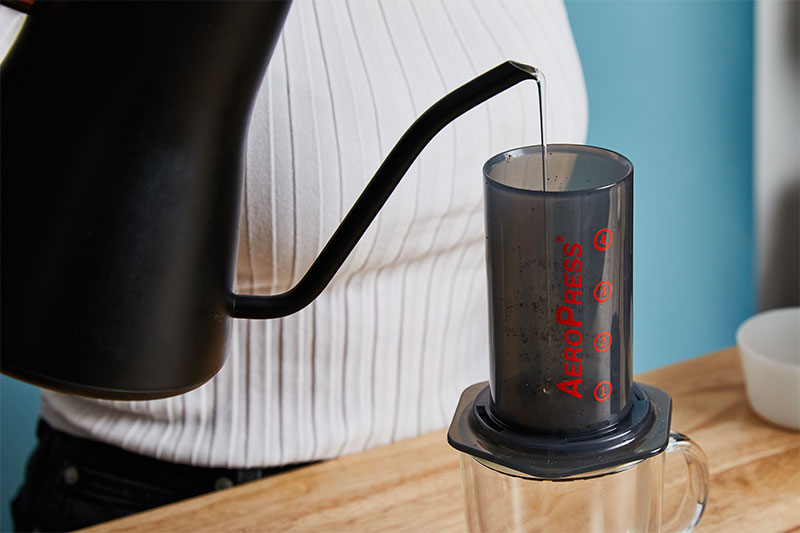
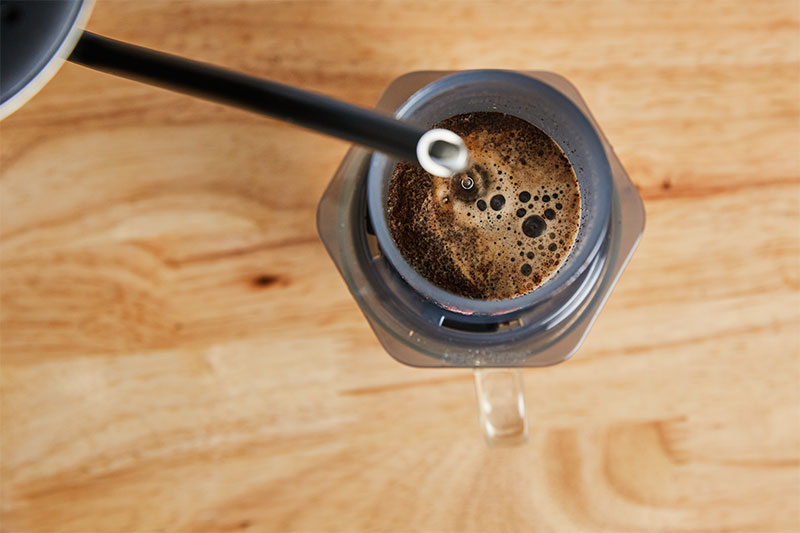
Step 4: First Pour then Swirl
Pour size: 50 grams of water
Pour length: 15 seconds
Pour the first 50 grams of water into the AeroPress, and swirl gently so the coffee and water are mixed well.
Step 5: Remaining Pour
Pour Size: 180 grams of water
Pour length: 45 seconds - 1 minute
After 15 seconds, pour the remaining 180 grams of water into the AeroPress. You can give the grounds one more quick swirl and stir before attaching the plunger and waiting until the 1 minute mark. Keeping the plunger on the AeroPress prior to plunging will help the brewer retain its heat which helps extraction.
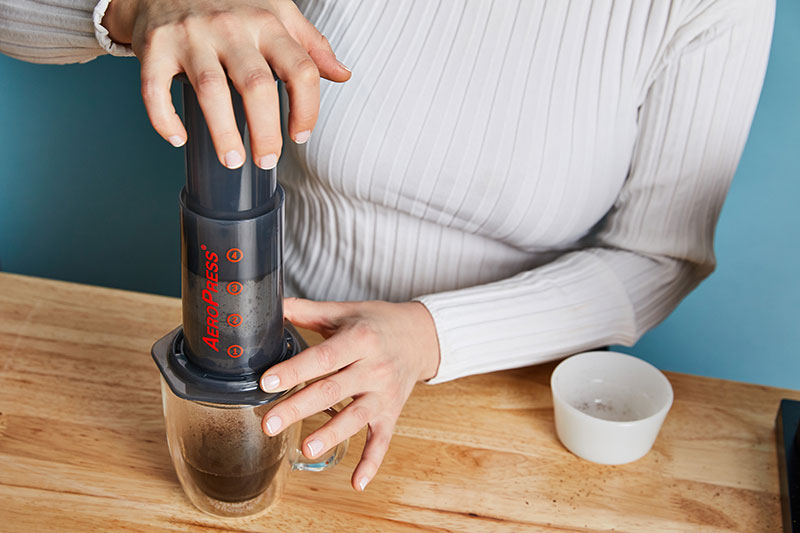
Step 6: Press and Enjoy
After one minute has passed, press down on the plunger with gentle pressure. Ensure that you stop pressing down about 1 cm before reaching the bottom to prevent the extraction of the last bit of coffee, which may result in a slightly murky taste.
Coffee Brewing Resources
-
The Perfect Pour Over Guide
How To Make The Perfect Pour Over Introduction Our ultimate pour-over brewing guide was developed to provide a comprehensive summary of all things related to pour-over coffee. Whether you are...
The Perfect Pour Over Guide
How To Make The Perfect Pour Over Introduction Our ultimate pour-over brewing guide was developed to provide a comprehensive summary of all things related to pour-over coffee. Whether you are...
-
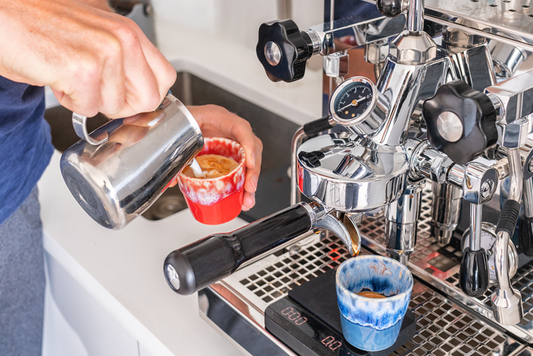
Mastering the Art of Espresso: The Role of Timi...
Mastering the Art of Espresso: The Role of Timing and Measurement Introduction Mastering the art of brewing a perfect shot of espresso takes practice and patience. There are many factors...
Mastering the Art of Espresso: The Role of Timi...
Mastering the Art of Espresso: The Role of Timing and Measurement Introduction Mastering the art of brewing a perfect shot of espresso takes practice and patience. There are many factors...

