What You'll Need
Brewing a pour-over at home can be as cheap as $75.00 to get started (this excludes a grinder) or as expensive as $375.00 (includes a high-quality grinder and electric kettle with temperature readings).
Even if you opt for the lower end of the scale to get started where you buy pre-ground coffee (not ideal you can read why here), a Hario V60, and a pour-over gooseneck kettle you can be all in for less than $75.00. Even with this rookie starter pack, you will get more exceptional cups of coffee than when relying on an automatic drip machine.
Equipment:
- Grinder or preground coffee (not ideal)
- Any pour-over device (We like the V60 or the Kalita Wave)
- Pour-over filter paper
- Gooseneck kettle
- Scale
Important Factors
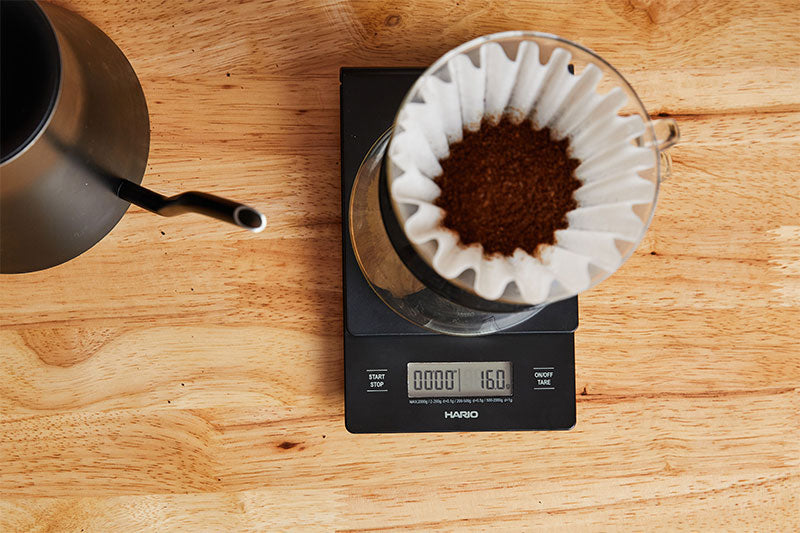
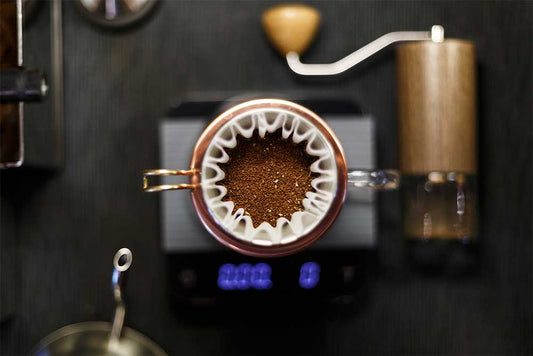
Step 1: Measure and Grind Coffee
Coffee amount: 15 grams
Brew ratio: 1:15 (1 gram of coffee for every 15 grams of water)
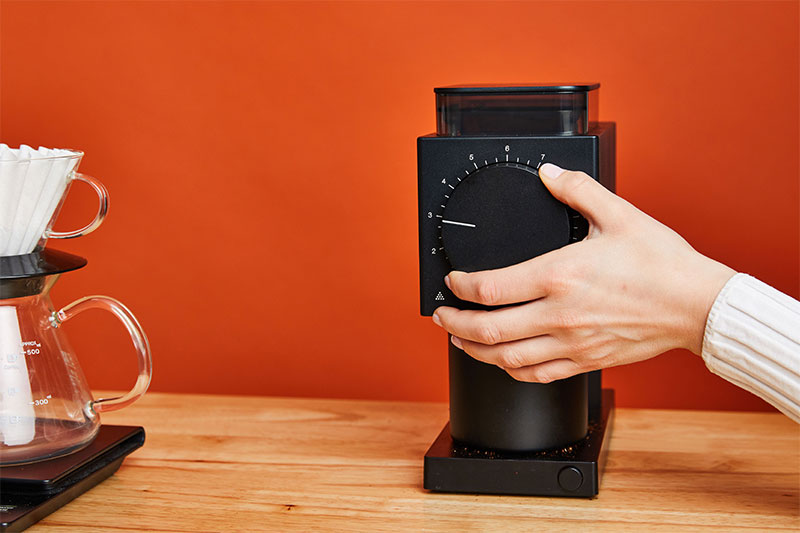
Your grind size and quality are crucial factors that will impact the length of your brew and the taste. For pour-over brewing, medium-coarse grind size is ideal for helping hit your target brew length of roughly 3:00 minutes. You will adjust your grind size finer if your brew length is too short and the cup comes out too sour. You will adjust your grinder coarser if your brew length is too long and the cup is too strong and bitter.
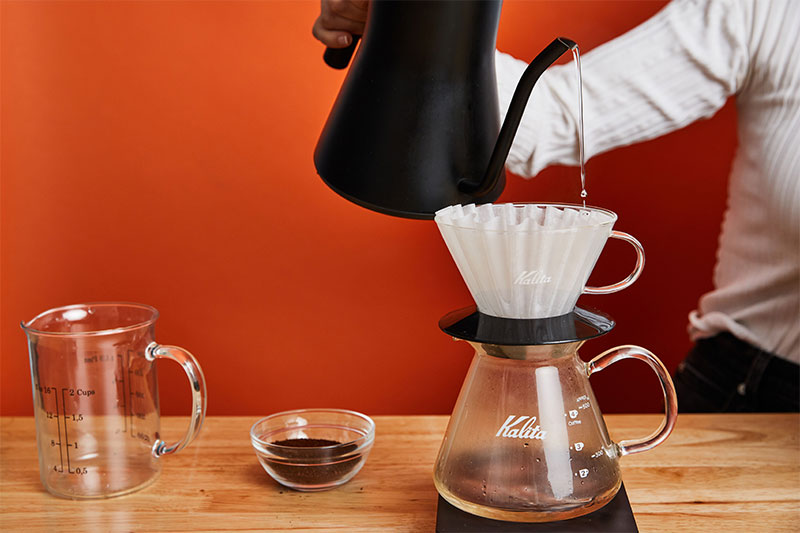
Step 2: Rinse Your Filter
Place your brewer and filter on top of your mug or carafe and rinse the paper filter with hot water; otherwise, it will give off a papery taste. The added benefit of using hot water here is that it warms up your brewing device and mug as you prepare the coffee for brewing.
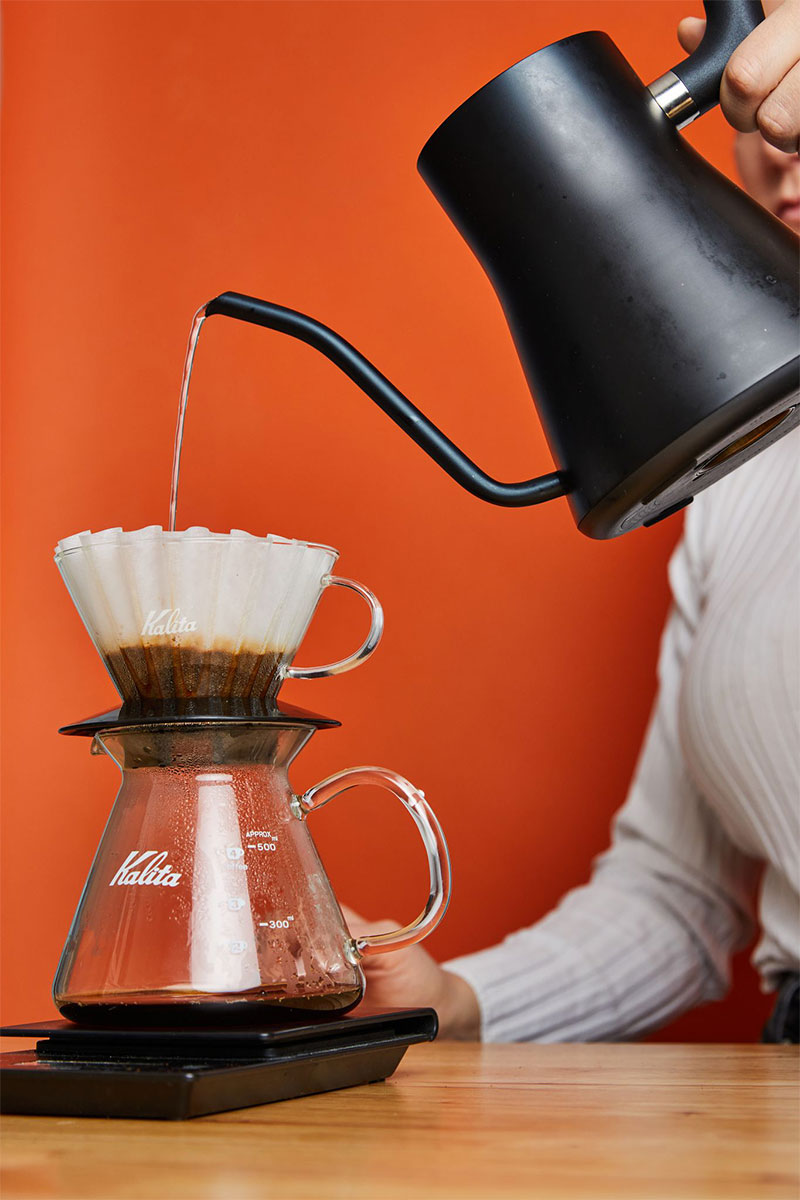
Step 3: Add Coffee and Heat Up Your Water
Water Amount: 240 grams (8.5 ounces)
First, add your coffee into the filter, place it on the scale, and tare it out. If your scale also has a timer, you will start the timer in step 4.
Next, heat 240 grams of high-quality spring water to the ideal brewing temperature for the roast type (hotter for light roasts, cooler for darker roasts).
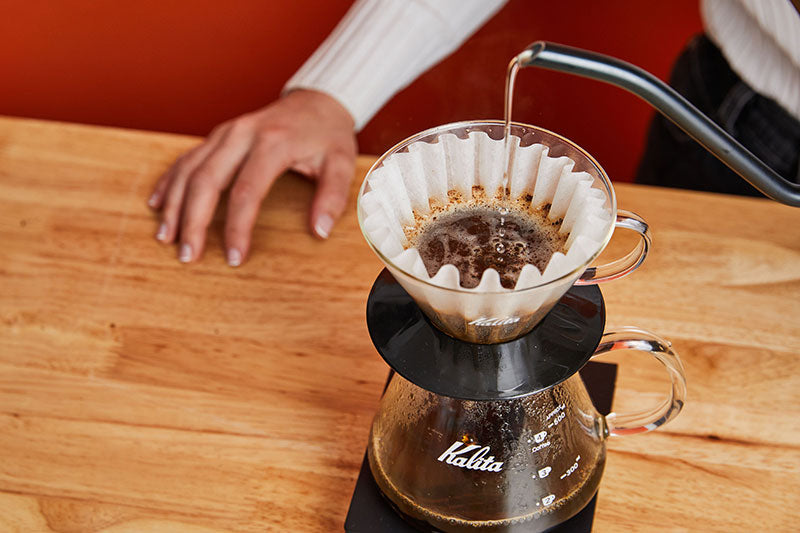
Step 4: Bloom
Bloom size: 45 grams (3- 4x coffee weight)
Bloom length: 1:00 minute
Your first pour is what is referred to as the “bloom.” The bloom allows your coffee to degas and helps with a more even extraction. If the coffee is fresh, you will notice the bed of grounds rises and bubbles during this step.
For your bloom, we recommend 3 – 4x the weight of the coffee
or 45 – 60 grams of water as your first pour. You want to ensure you saturate all the grounds in the bed of coffee, and you can
even spin the brewer after the pour to help with the saturation.
There are recipes recommending the bloom stage to last anywhere between 30 seconds and 2 minutes, and this is a great place to test what works best for the coffee you are brewing.
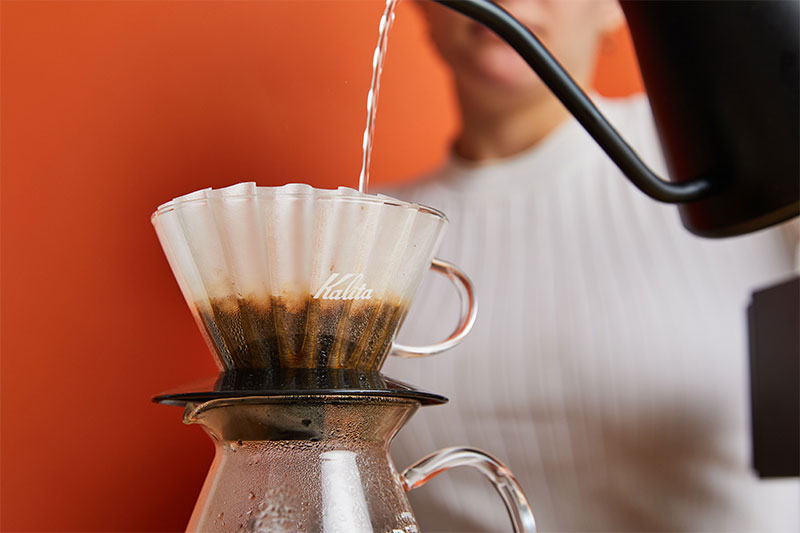
Step 5: Remaining Pour
Pour frequency: After the bloom is complete, pour the remaining water at 6-8 grams a second until you hit the final weight. If the coffee is draining too slowly, it is okay to swirl the bed of coffee to help improve the flow rate.
End weight: 240 grams (8.5 ounces)
End time: 3:00 - 3:30
There are a few ways of approaching your pour frequency, from one slow and long pour to pulsing your pour every 20 seconds. This is not a preference recommendation, as each pour type impacts your brew differently. We prefer the long and slow pour, where our brew ends around 3:00 minutes to 3 minutes and 30 seconds. The one benefit of the long and slow pour is that you keep the coffee grounds from cooling during brewing, which can help extraction.
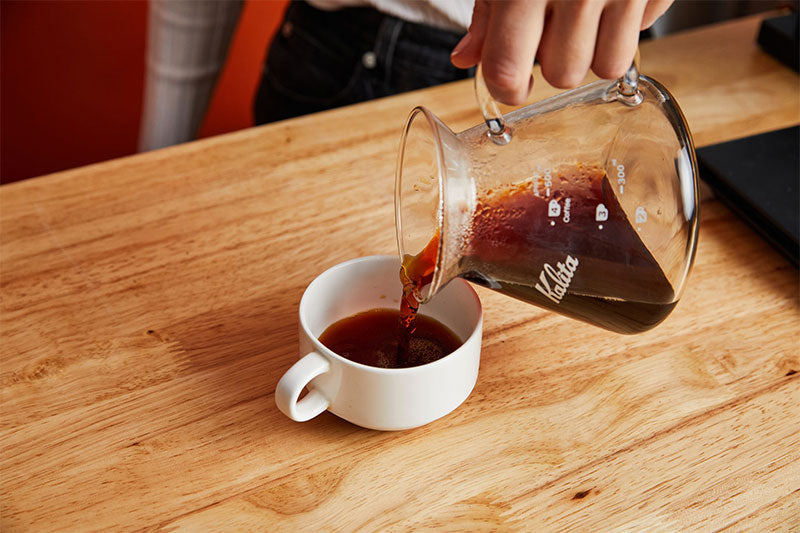
Step 6: Serve and Enjoy!
The next part is quite simple – if you nail all the brewing parameters, you will be sipping on a delicious cup of coffee. If anything seems off in the cup, like it being too sour or bitter, reassess your grind size and brew length.
Please read our detailed guide here for more tips for brewing the perfect pour-over.
Pour Over FAQ
What is a Pour Over Coffee?
Pour-over coffee is a brewing method that involves manually pouring hot water over coarsely ground coffee beans, which are placed in a paper filter inside a brewing device like Hario’s V60. This allows the coffee to drip directly into a mug or server. What sets pour-over coffee apart from other brewing methods is the control it provides over the factors that affect the taste of the final product, such as the brew length (bloom and flow rate), temperature, and recipe/technique. In contrast, when using a drip machine, many of these factors are outside of your control.
Although pour-over brewing is more hands-on and time-consuming than other methods, it can result in some of the most delicious cups of coffee you've ever had if executed properly.
Why Pour Over is better than Drip Coffee
The benefit of brewing a pour-over coffee is the direct influence you as the barista have on brew length (time), temperature, and recipe. Many of these inputs can't be influenced with automatic machines which can drastically reduce the quality of your brew.
Every coffee is unique, from the roast type (light, medium, dark), the varietal (Gesha, SL-28, Pink Bourbon), and the processing method (washed, natural, honey). All these factors drastically influence how coffee should be brewed and catering your inputs (time, temperature, and recipe) to the coffee type will give the exceptional results you are looking for. Furthermore, you as the consumer of the beverage may want the final brew to taste a certain way, maybe you like your coffee stronger, or want a coffee with high clarity and a low coffee-to-water ratio, all these options you have the influence over when brewing with a pour-over.
What brew ratios should you use for a Pour Over?
Golden Cup Standard:
The Golden Cup Standard is an excellent baseline for any brewing method, including pour-overs. The standard recommends a coffee-to-water ratio of 1:17 to 1:18, meaning you would use 17 grams of water for every 1 gram of coffee grounds.
Some may find this ratio to be a bit weak, resulting in a slightly watery cup of coffee. The Golden Cup Standard is particularly well-suited to those seeking clarity in their coffee, light roast enthusiasts, or those who prefer single-origin coffee.
Starting with the Golden Cup Standard is an excellent idea, even though it is a bit mild. You can then gradually increase the coffee-to-water ratio to achieve a stronger brew.
Our Recommendation for Brew Ratios:
We suggest three different coffee-to-water ratios for pour-over brewing, depending on whether you prefer a mild, average, or robust cup of coffee.
Mild (high clarity): 1:17 or the SCA Golden Cup standard
Average: 1:16
Robust (high body): 1:13
You can use these ratios as a starting point and then adjust the ratio up or down to achieve the desired level of clarity or body. Our coffee calculator provides exact measurements, and please note that all ratios are based on 1 gram of coffee to "x" grams of water.
What temperture should you use for a Pour Over Coffee?
The recommended temperature range for brewing hot coffee, regardless of the method, is between 197-205 degrees Fahrenheit. Using a kettle with a thermometer is the best way to achieve this temperature range, but alternatively, you can boil water and let it sit for 30 seconds to 1 minute to cool to the optimal temperature.
The temperature of the water used for brewing can greatly affect the taste of the coffee. If the water is too hot, it can result in a bitter or burnt taste, while water that is too cool can result in a flat and weak cup of coffee.
Ideal brewing temperature for light-roasted coffee:
The ideal brewing temperature for Light Roast Coffee is right off boil or between 203 – 212 degrees Fahrenheit. The higher temperatures help prevent sourness, and high acidity is lighter roasted coffees.
Ideal brewing temperature for medium-roasted coffee:
The ideal brewing temperature for Medium Roast Coffee is about 30 seconds off boil or between 194 - 203 degrees Fahrenheit. The moderate brewing temperature helps keep the medium-roasted coffee balanced and rich.
Ideal brewing temperature for dark-roasted coffee:
The ideal brewing temperature for Dark Roast Coffee is about 1 minute off boil or between 185 – 195 degrees Fahrenheit. The lower temperature helps to rid bitterness and highlight the sweetness in the dark roasted coffee.
How long should your Pour Over brew for?
Most pour-over recipes and even those from award-winning baristas fall within the 2:45 – 4:30 second range. You will see 3:00 minutes mentioned often as the target time but don’t be afraid to test pour-overs that are faster or slower than that target time. 3:00 minutes seems average and is an excellent first target to ensure your grind size and pour frequency are aligned to reach that time. From there, you can extend or shorten your bloom time or grind finer and target a slightly longer brew length to see how that impacts overall flavor. Please note that every coffee is different, and what may work well for one may not work well for another.
Coffee Brewing Resources
-
The Perfect Pour Over Guide
How To Make The Perfect Pour Over Introduction Our ultimate pour-over brewing guide was developed to provide a comprehensive summary of all things related to pour-over coffee. Whether you are...
The Perfect Pour Over Guide
How To Make The Perfect Pour Over Introduction Our ultimate pour-over brewing guide was developed to provide a comprehensive summary of all things related to pour-over coffee. Whether you are...
-
Mastering the Art of Espresso: The Role of Timi...
Mastering the Art of Espresso: The Role of Timing and Measurement Introduction Mastering the art of brewing a perfect shot of espresso takes practice and patience. There are many factors...
Mastering the Art of Espresso: The Role of Timi...
Mastering the Art of Espresso: The Role of Timing and Measurement Introduction Mastering the art of brewing a perfect shot of espresso takes practice and patience. There are many factors...

